Best Cleaning Mop | Steps to Mop Your Floor Correctly
It is vital to keep the floor of your house clean. Cleaning and how to mop a floor is one of the essential things we do in our daily lives.
Sweeping and vacuuming will remove some of the dirt from your floors, but you will eventually need a floor cleaning mop. Mopping prevents dirt from building up and can give you a clean and healthy environment.
Mopping is a simple process, and here are 6 simple steps to help you do it right.
Step 1: The right cleaning mop is the best floor mop
Floor cleaning mops and cleaners are vital tools. Choosing the right dust mops for your home's floors is a good place to start.
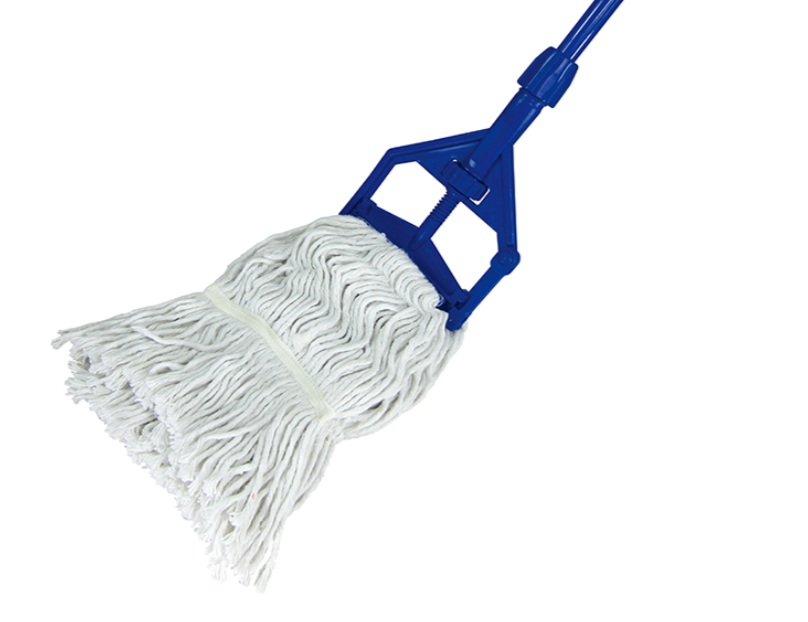
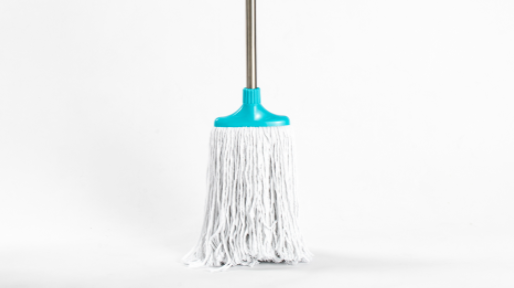
There are many different types of dust cleaning mops: round cotton mop with handles (absorb a lot of water and need to be wrung out in a bucket), microfiber mop with stainless steel handles (great for almost all types of floors, especially for household and public cleaning), heavy-duty floor wet mop with big clip (great for heavy cleaning tasks), and gentle sponge mops (great for hardwood or laminate floors), etc.
Your choices are diverse, and which floor mop you want depends on the type of floor you have and the amount of effort you're willing to spend on this chore.
Step 2: Please remember to sweep the floor before mopping
If you neglect this step, then there is no point in mopping, you will just sweep all the dirt and hair to another place.
A floor cleaning mop head does not remove dirt and debris very well. You must do some preparation before you start mopping - cleaning the area will make things easier when you try to remove dirt and debris.
.png)
Step 3: Use warm water and detergent for better results
Once you are ready to floor cleaning mop, you may choose to mix the detergent with warm water for better results. Soak the washable mop heads in the cleaner and start wiping the floor. You will repeat these steps each time you wipe a section until you find the entire floor is clean.
It is important to note that you should follow the cleaner instructions carefully to ensure the correct ratio of cleaner to water to avoid harming your floors.
Step 4: Soak and rinse your cleaning mop head
It's also important to soak and rinse your floor mop head when you're done with a wipe down. Rinse and wring your mop with water so you don't spread the dirt to other parts.
If you use a traditional mop, it's important to clean the cotton mop head. When your dust mop head becomes very rough, it is recommended to replace it promptly.
Step 5: Air-drying your floor
After mopping the floor, you should open a window or door and let the floor air dry. To avoid the futility of what you are doing, also remember not to walk around repeatedly.
Step 6: Proper disposal of used floor cleaning mops
Leaving the dust mops in the bucket can cause odor and bacteria in the mop head because it is full of dirt. The most important thing is to clean the mop heads and let them dry completely before storing them.
Either way, this should not be overlooked. The undeniable fact is that the cleaner your dry mop heads are, the cleaner your floors will end up being.
Conclusion
Mopping can be a chore, but it's the necessary way you can have a clean floor and environment.
Mopping should be part of your cleaning routine and EZI offers high-quality cleaning mops (e.g. eco-friendly cotton mop, wood floor mop, microfiber dust mop, squeegee mop, floor wet mops, commercial dust mop, industrial dust mop, etc.). Whether it's that kind of mop, contact EZI and we'll provide the right option for you.